
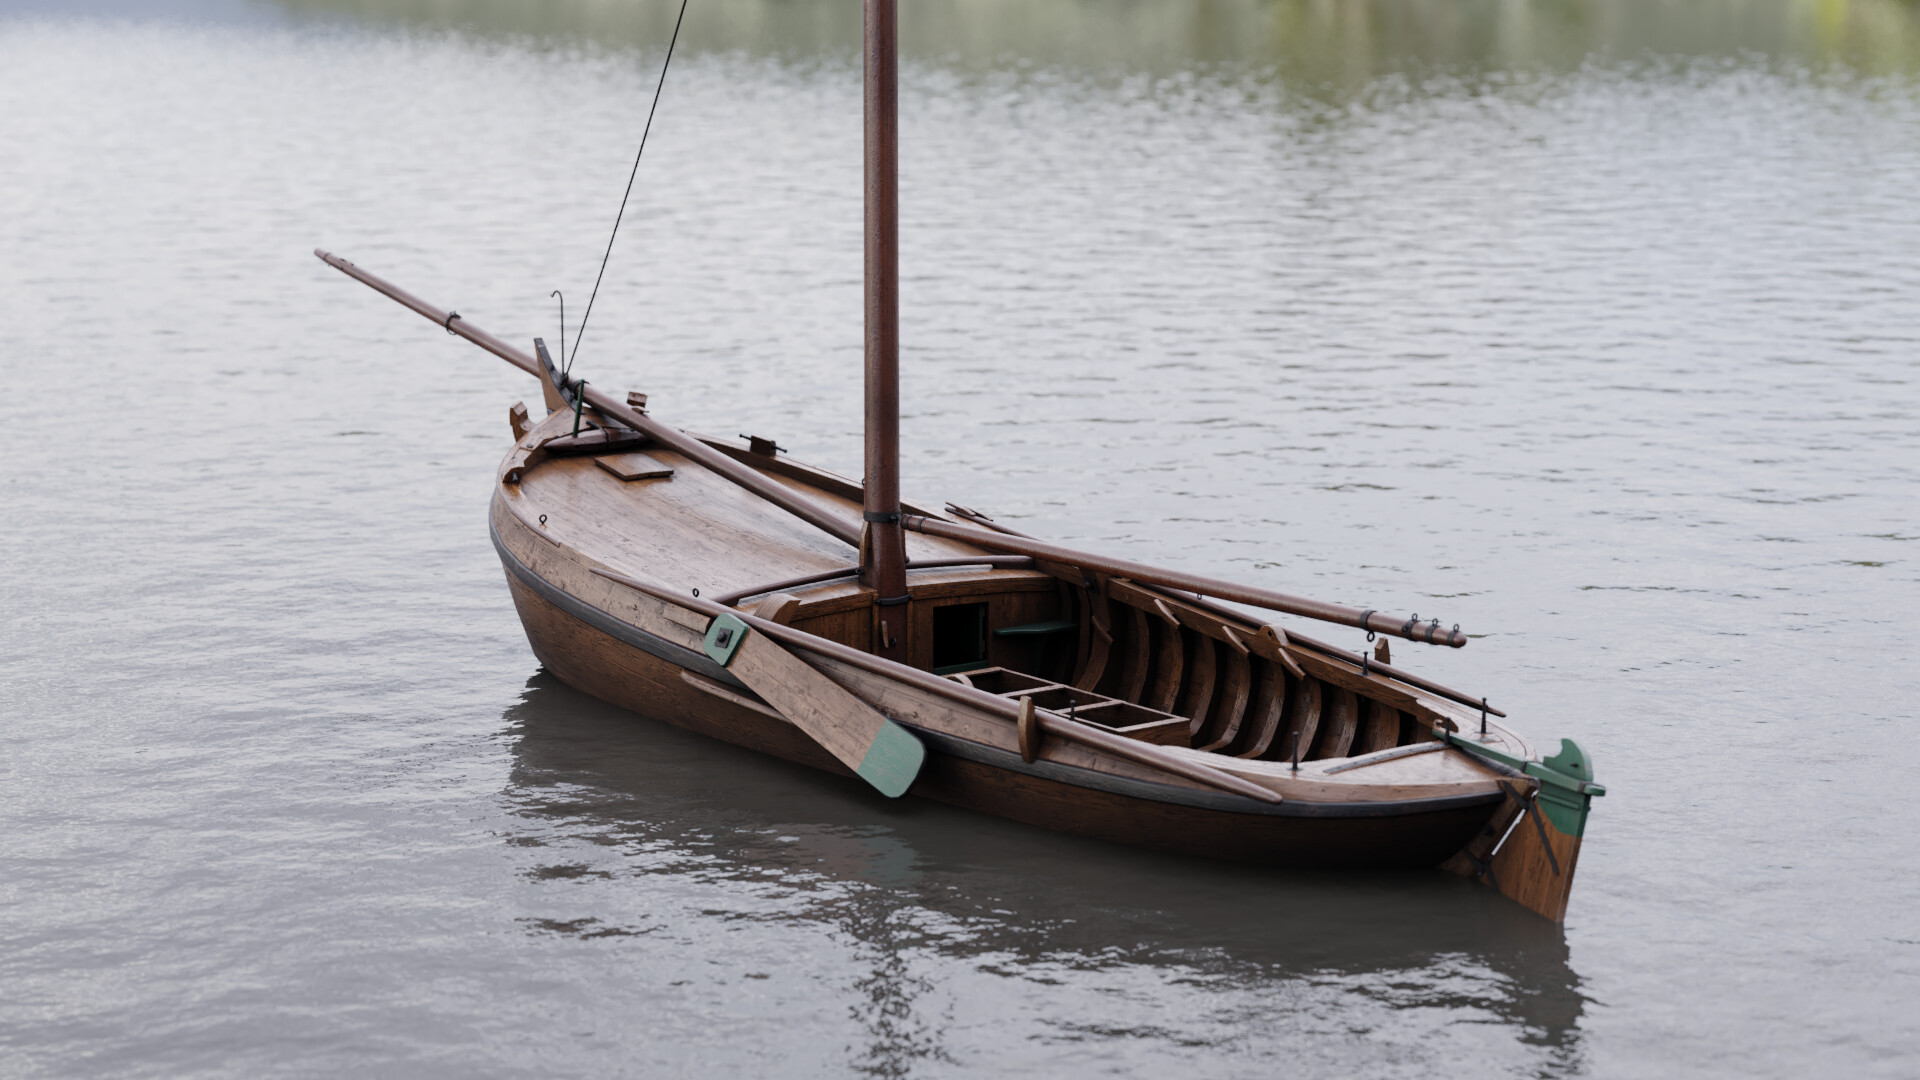
The Botter, arguably the most characteristic historical fishing ships you would find on the Dutch Southsea the past centuries. Now largely sailing historical monuments, once these ships populated the sea day to day, gathering fish for people to eat. Having sailed on on of these ships over a year ago, in a race between many, I became very excited t reconstruct one digitally. Here is the story so far:
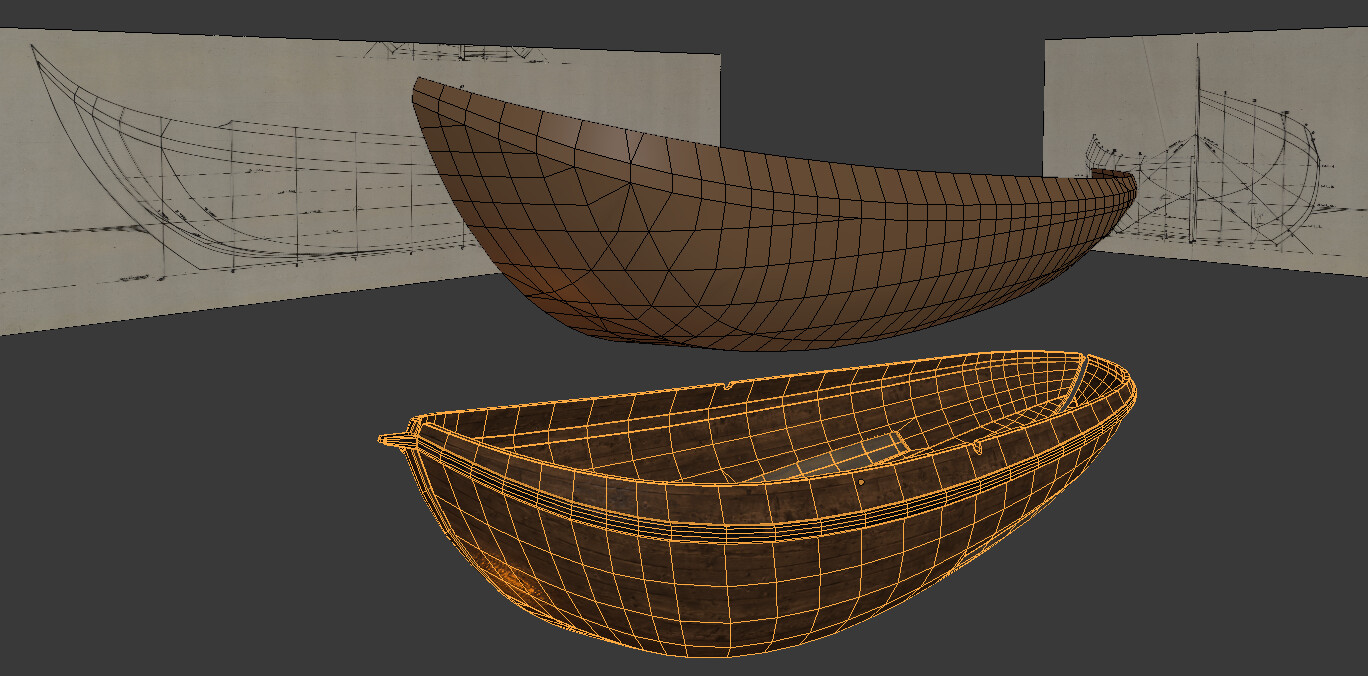
This particular model is based upon my first try at a botter from a few years ago. That one was not based on any official blueprints for the shape of the boat, rather just paintings of the past, and so wasn't the correct shape. This time I actually found quite a lot of old references and blueprints of the old fishing ships, a few examples shown below. From these references I was able to remake the model with an impressive amount of detail and precision.

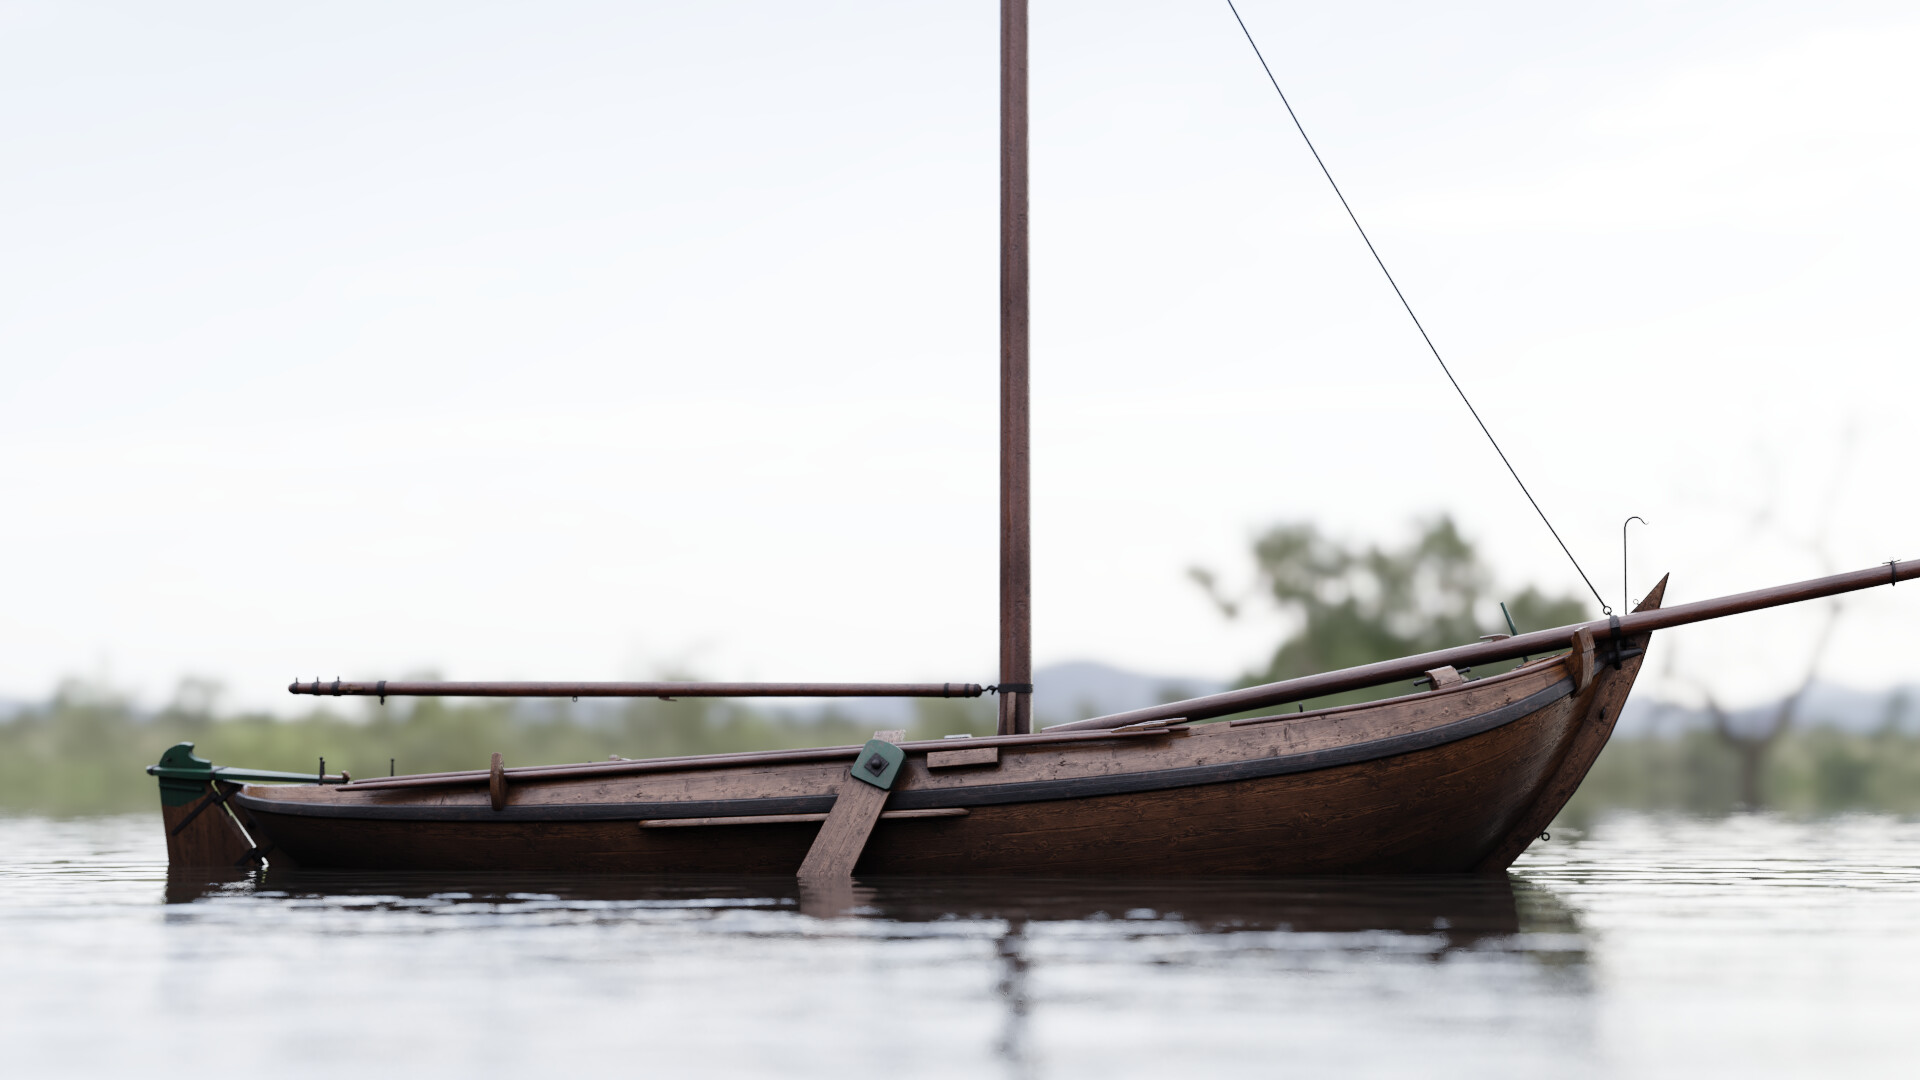
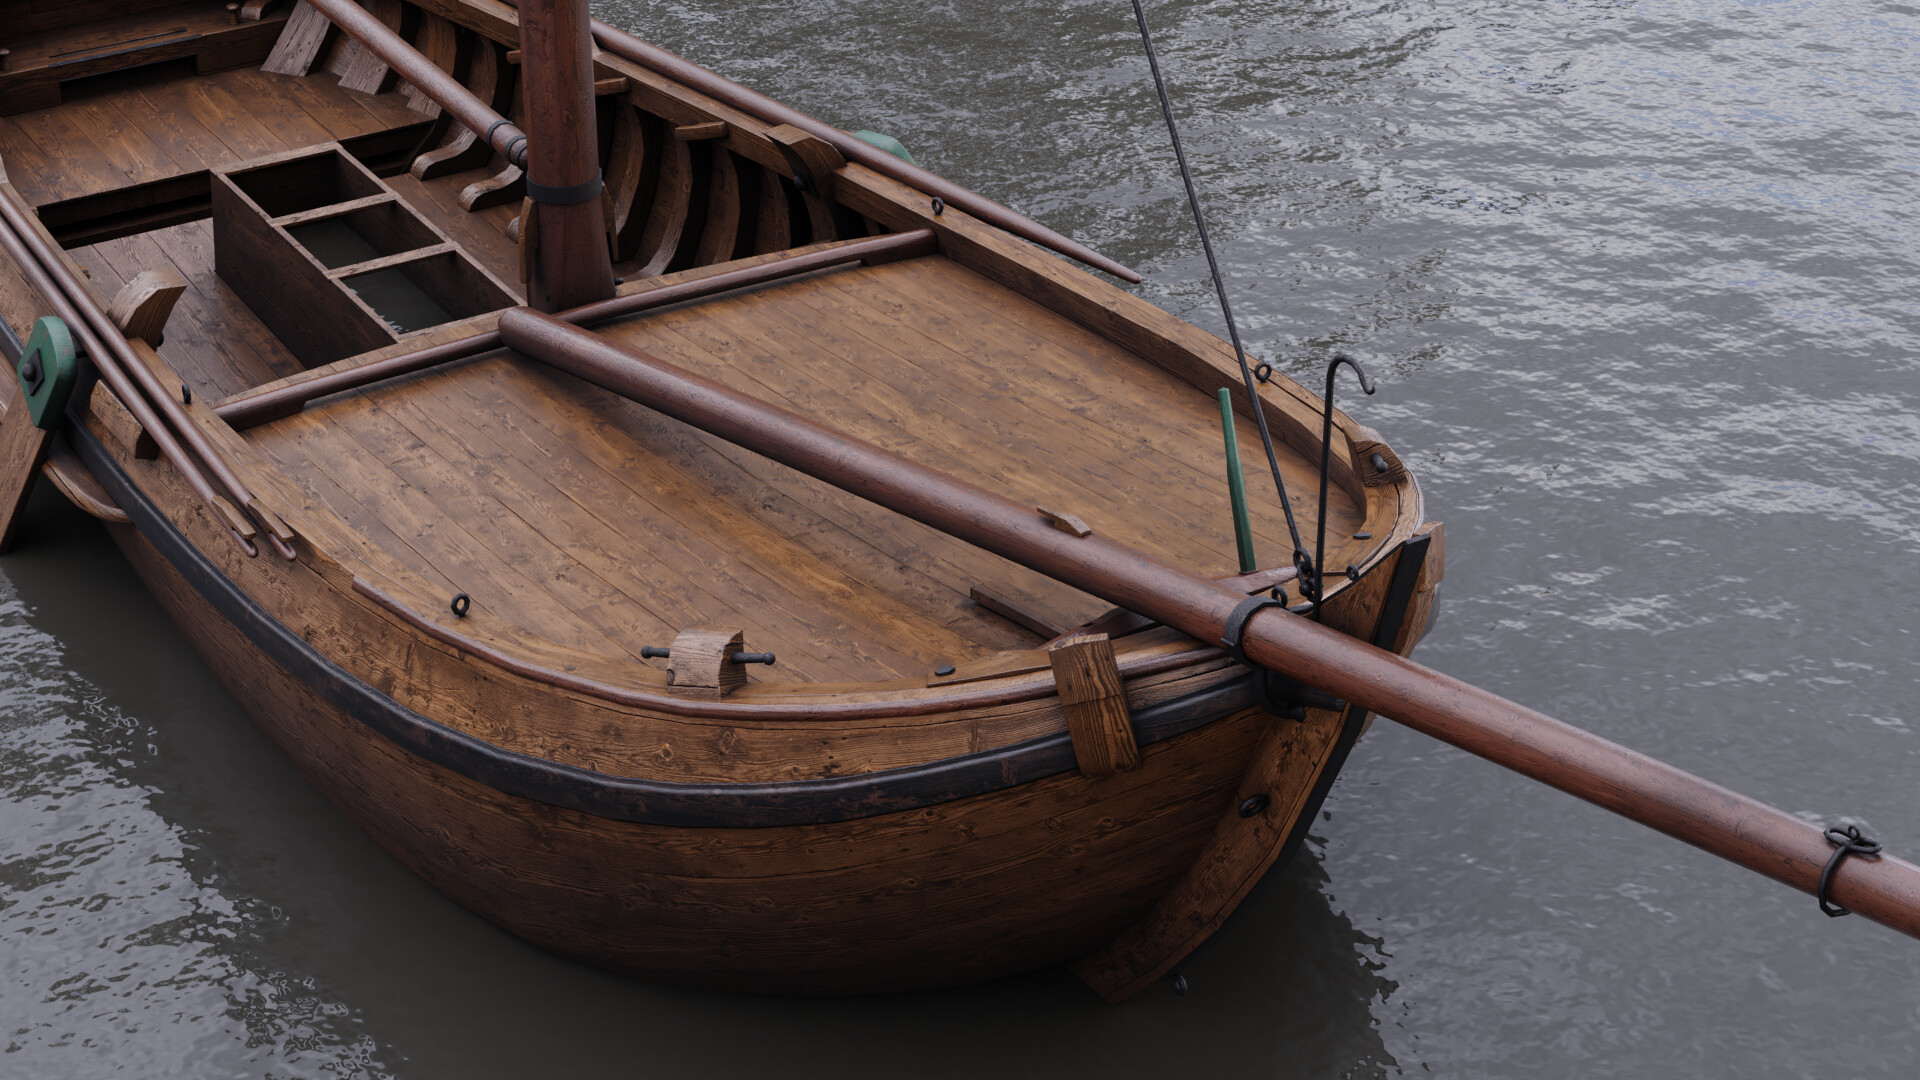
One of the most outstanding parts about this ship is the height difference between the bow and the stern. This makes the ship almost look like a traditional Dutch wooden shoe, but this does in fact, have a purpose. These fishing ships worked with big nets, and to get these nets inside the boat after they are full of fish, you need to use man power. With a lower stern like this, that makes the whole process a lot easier. While the high bow still makes it very seaworthy. The front of the ship is used for, sleeping, living and storage of the anchor rope and extra sails. While the bottom of the rear is actually filled with water, to keep the fish alive and fresh.
What hugely helped me during the modeling process in terms of accuracy and viability, is that I've been following a few ongoing ship building projects where historical ships are being build up from the ground up. While the types of ships are completely different, a lot of the construction methods and mechanical design are actually very universal. This helped me a lot when working on the shape of the hull, but also the placement of the frames (the structure inside that keeps the shape). I've learned about fairing the curves, since, even when you copy the lines on the blueprints correctly, the lines might still not be smooth. In real life this is done by using a long piece of wood, bending it against the known points on the schematic, and then letting it loose a bit so it can take on it's natural shape. This is the digital way I achieved a similar result.
I first made a model that exactly follows all the lines in the line drawing, This shape has straight horizontal lines bad triangle connections in lots of places, especially the bow. This shape would be a nightmare to work with and achieve any good result. So after this, I made a rough second shape, one that follows the curves of the planks rather than the lines, and has a very even spacing throughout the length of the loops. I then projected (shrinkwrapped) that new shape onto the line based model, which was using a smoothing modifier to "fair" the curves. This way I achieved a properly spaced very nice looking topology, with perfectly smooth uniformly spaced surfaces, that would be a breeze to uv unwrap.
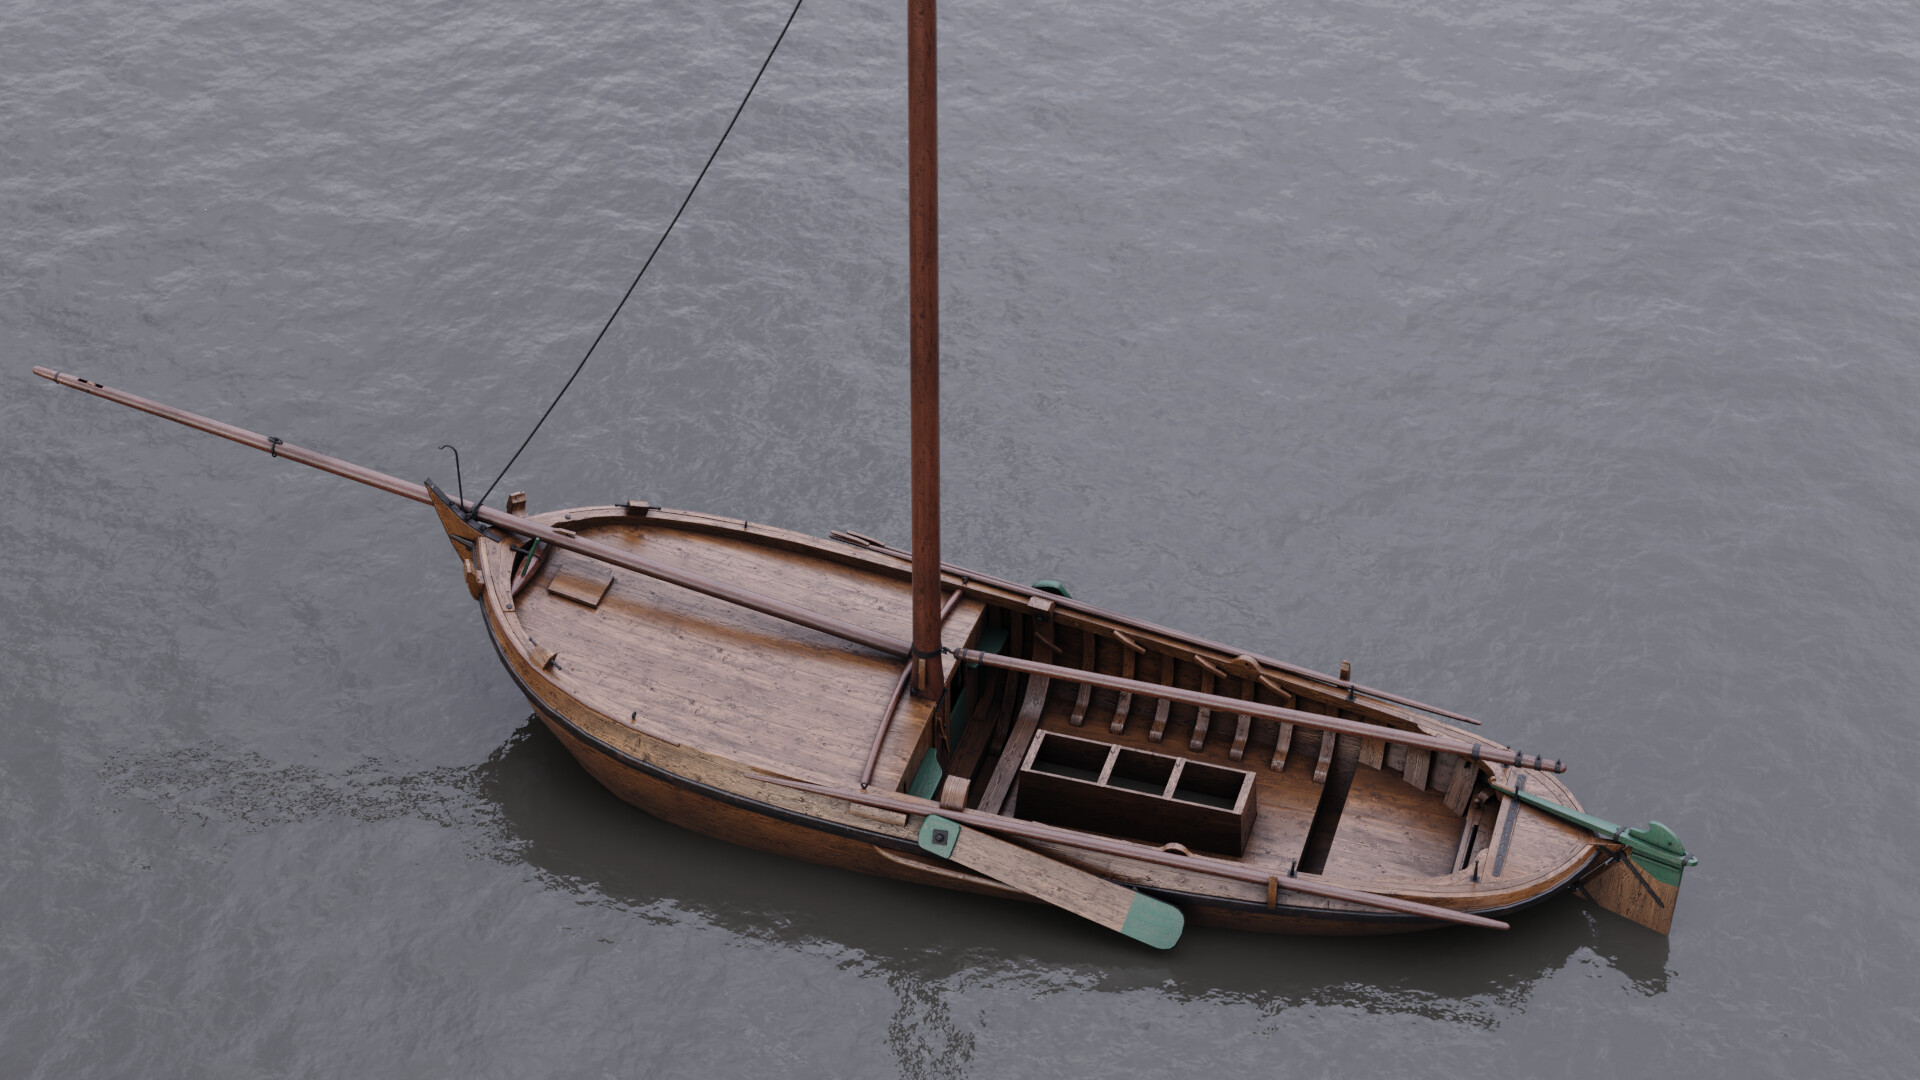
To really sell the inevitability of the model I really felt that I had to properly design each distinguishable detail in 3D. Not just for accuracy's sake, but also aesthetic value. Often, with concentrated detail like the structure frames here, you get a very attractive design. I took care not to spare on vertices where they are really needed, like in the curves of the frames. But to budget vertices of smaller more numerous items, like the hooks the ropes would be tied on.
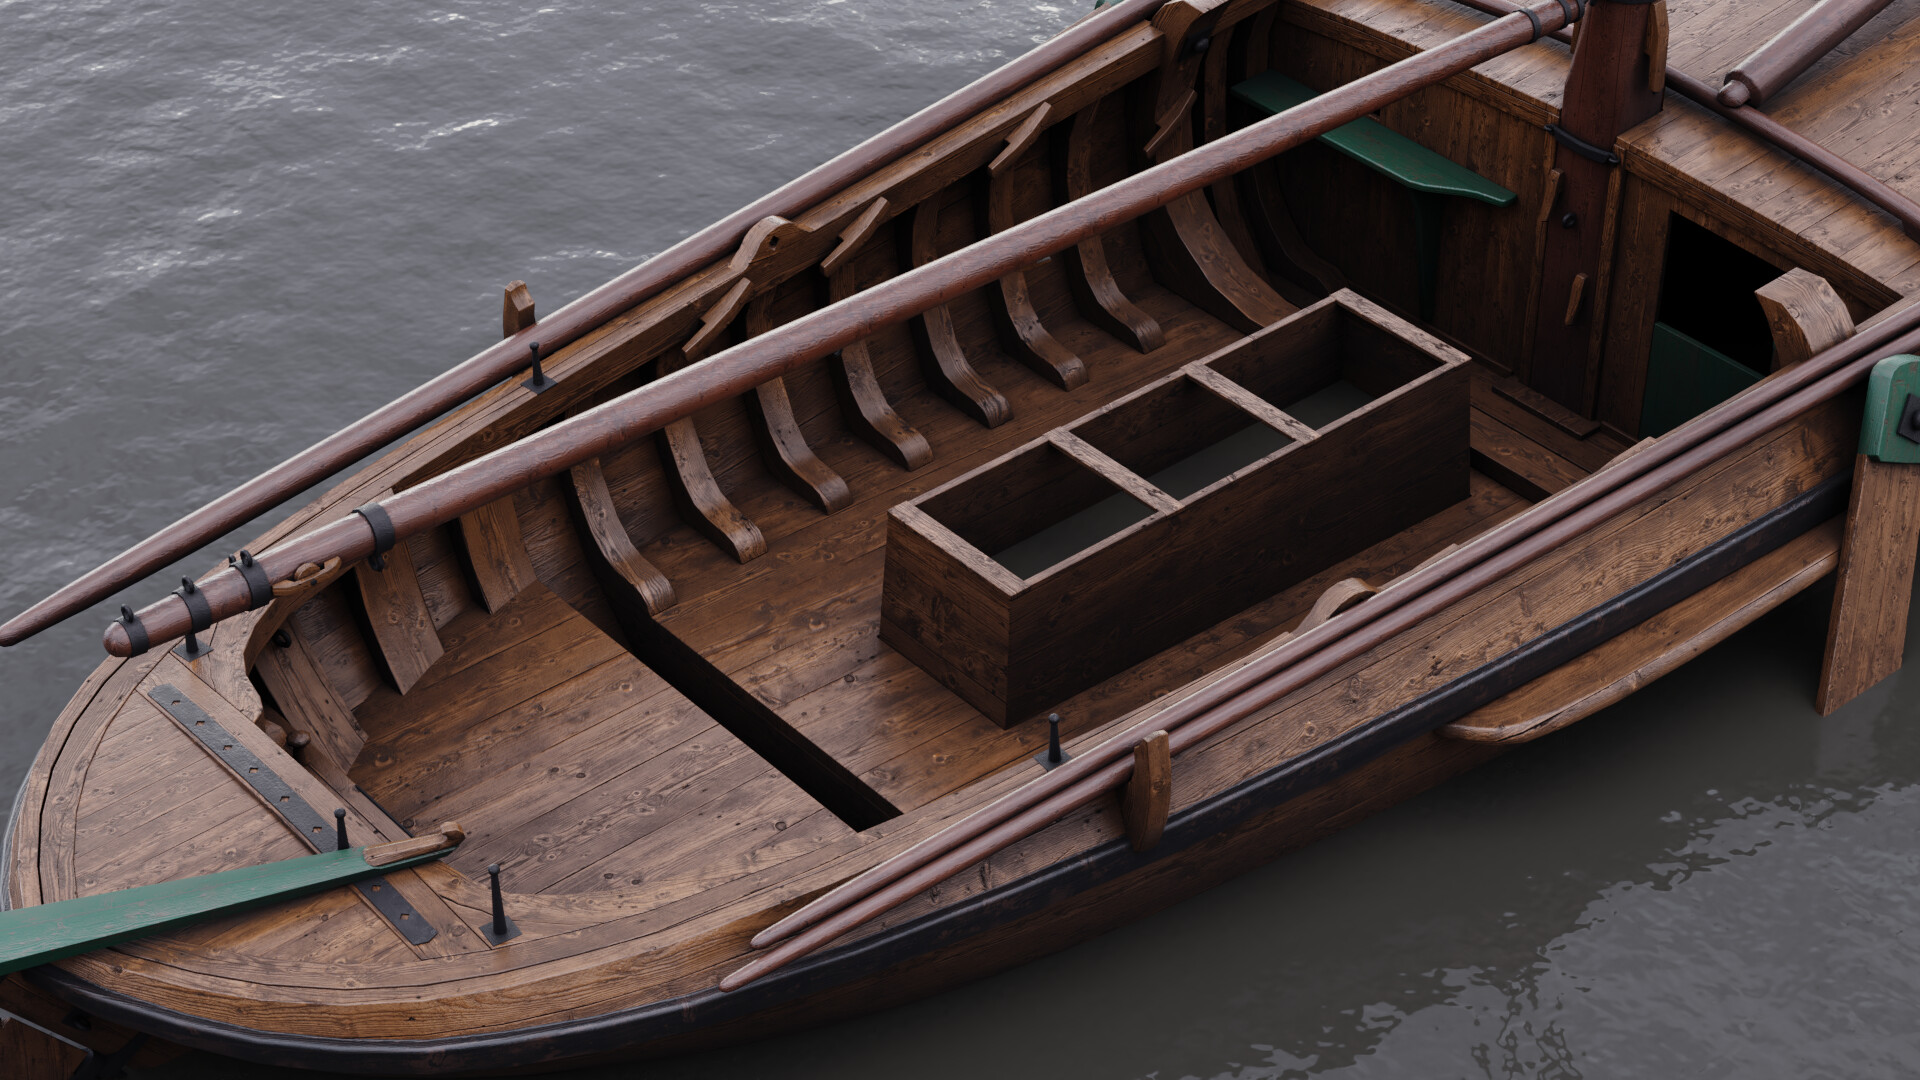
Materials are also really important to sell a proper look. Yet I've not painted any for now. All what you see now just a repeating wood texture used with color variation and roughness to signal different wood types used for different purposes. On top of that is some procedural dirt and ambient occlusion which gives a very believable look already. Later when I paint materials in, I will go in to proper detail about that. But for now this will suffice to get a proper idea of the realism and believability of the model.
One thing I also do is to have a quick scale check in VR. I import the model with basic textures into a test scene in Unreal Engine. I then run the scene in VR where I'm able to walk around the ship, sit, stand, and grab parts to gauge the proper scale of things. Do things feel weighty and solid, or tiny and flimsy, and how appropriate is it for a certain object and material. I realized I often tend to make details like screws and connections way to big, and things like ropes and lines to fat. As I've been on one of these ships for real, it was interesting to figure out if I got the same impression from being on the virtual ship.
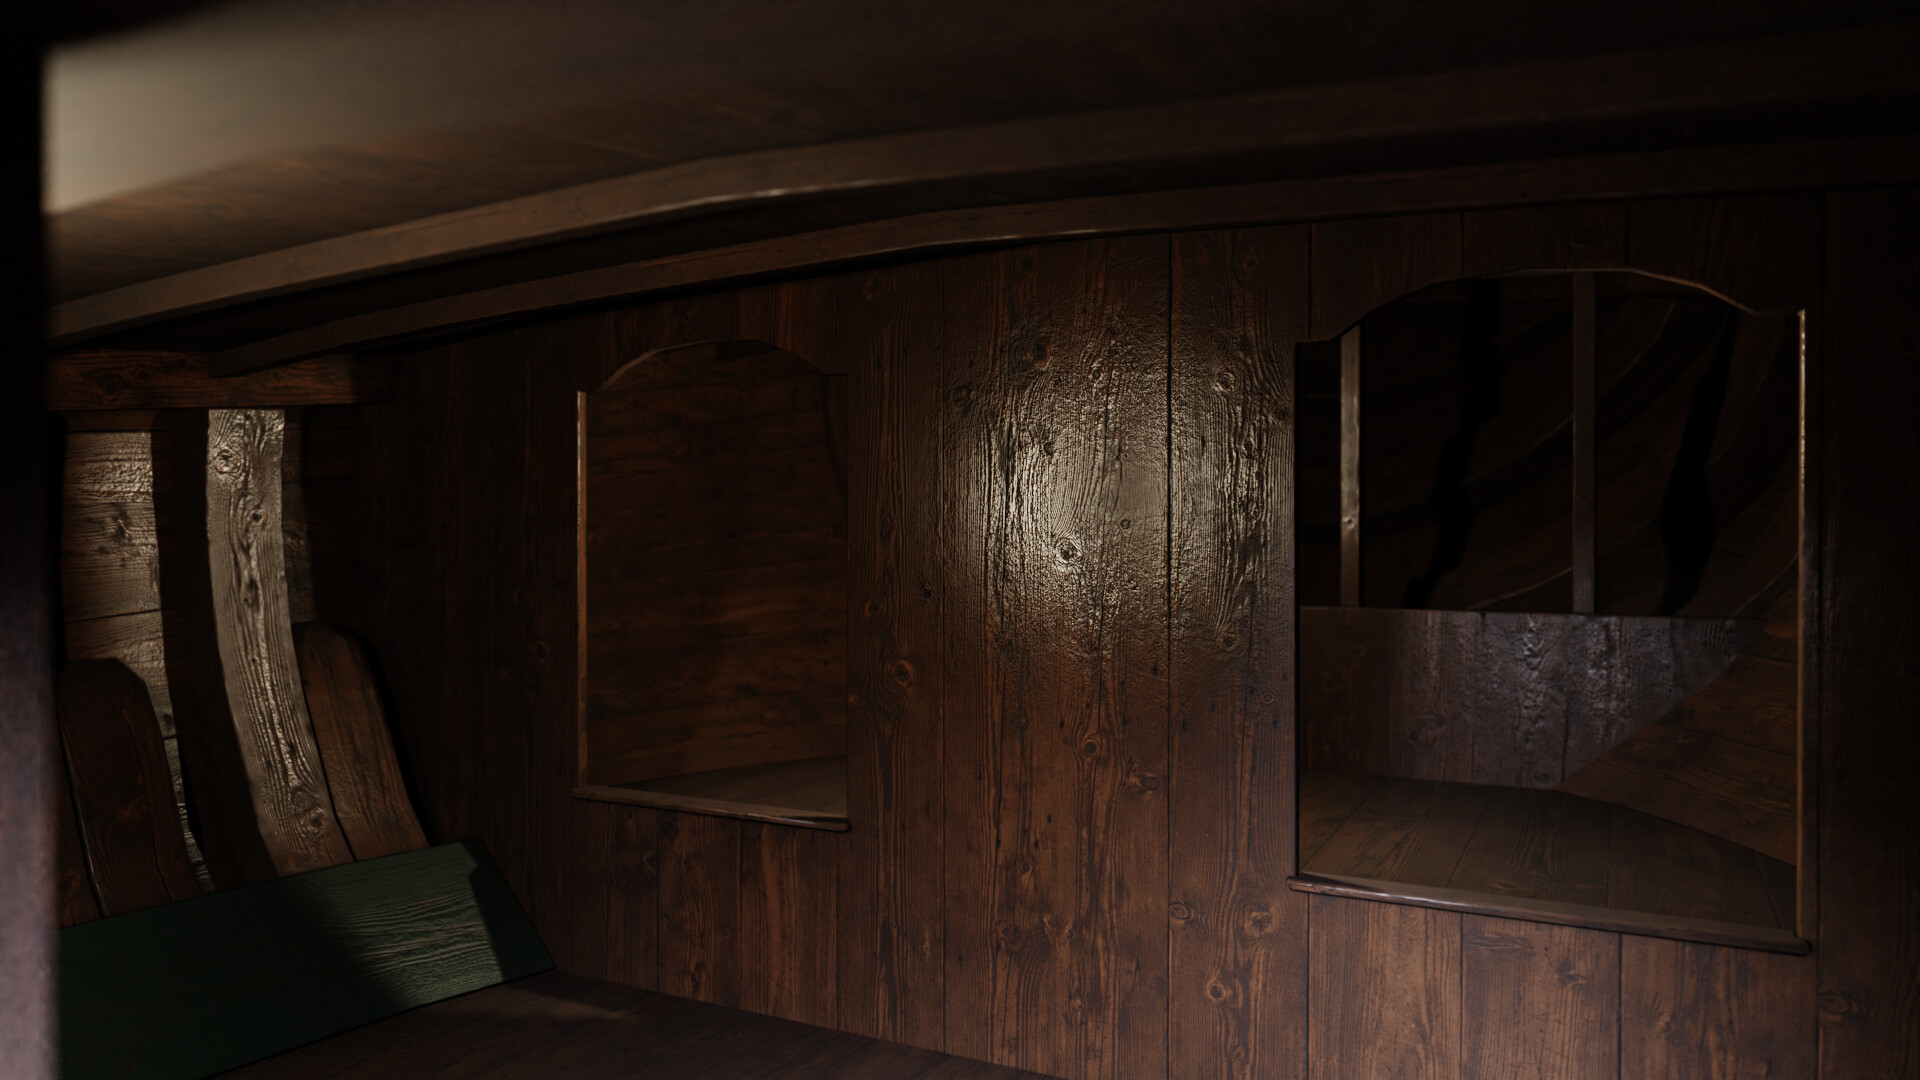
Lastly a bit about the interior. I was doubting for a while If I should really do this. I could also just shut the door and never make this. But I figured I could always cut this part out of the model if a less poly heavy version needs to be released. I can also give this part it's own texture space so it can be culled out easily when the inside is not showing. For now the inside will just keep to the basic boarding and floor work. You can see the different spaces, living quarter, sleeping bunk and anchor storage. If i want I can always add furniture and detail to this later, but at least I'll have the right shading done.
 Shipwrights working on a Botter
That's it for now, next up is the rigging. Lots of details with blocks, loops, knots and hooks. Dynamically setting everything up to work with bones and constraints so I can pose the ship in whatever position I want, and even use cloth simulation for the sails.